Lesson 48

Lesson Objective: In this lesson, we will learn how to create Broken and Partial view types.
BROKEN VIEWS
Broken views are used to shorten a view of an elongated feature/model. Typically, the elongated model does not vary in features from one end to the other, and therefore, you can remove the middle of this model, and not lose any detail.
A perfect example of an elongated model is a din rail, or a broom handle, or any object that has a constant cross-section along its length.
To demonstrate this, we will open up the drawing called Broken_View.drw, which will look like the following.
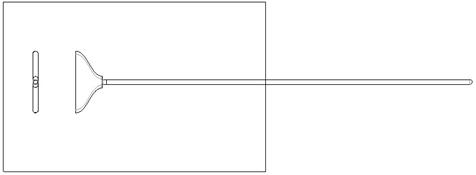
The rectangle in the figure above represents the boundary of the sheet size we are using (which happens to be a “D” size sheet). We could use an “E” size sheet, and possibly get more of the model to fit, but the height of the model would be too small in comparison to the size of the sheet.
Therefore, to be able to detail out this model, we will use a broken view from the existing RIGHT view to make the entire model fit on this sheet of paper, and not lose any manufacturing detail.
CREATING THE BROKEN VIEW
Double-click on the RIGHT view to bring up the properties window. Once open, go to the Visible Area category, which will look like the following.
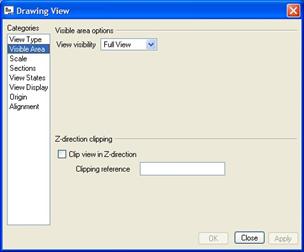
Currently, the visibility is set to a Full View. We will use the pull-down field to see the other options, shown in the next figure.

We can see that one of the options is Broken View. We will select on this option, and we see the following.
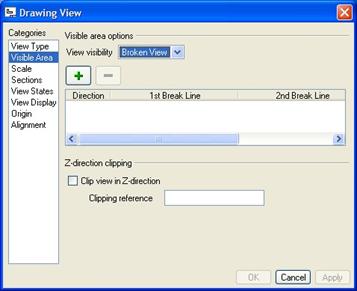
Click on the “+” button to add a broken view definition. When we do this, we are asked to select on the view where we want our first break line. We will pick in the following location.
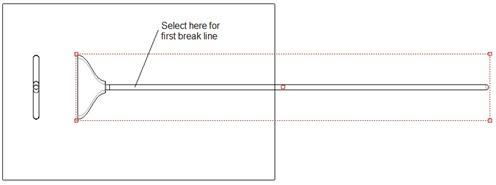
When we pick in this location, a vertical blue line appears on the drawing view, and we are prompted to pick the location for the second break line, which will be in the location indicated in the next figure.
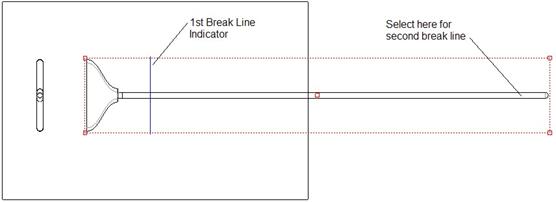
When we pick in the second location, we get our second vertical blue line, as shown in the next figure.
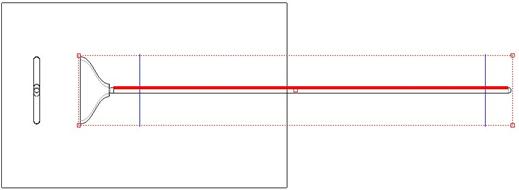
At this point in time, if we scroll over in our broken view definition, we can see additional fields that we can define. One of them defines the shape of the cut on the view. Currently, we are seeing the Straight option, as shown in the next figure.
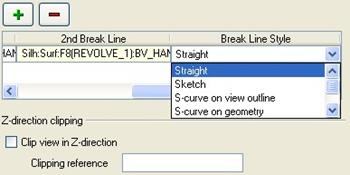
We will keep this option of Straight selected, and click on OK. Our view collapses, and we can see the following when we click outside of the view to de-select it.
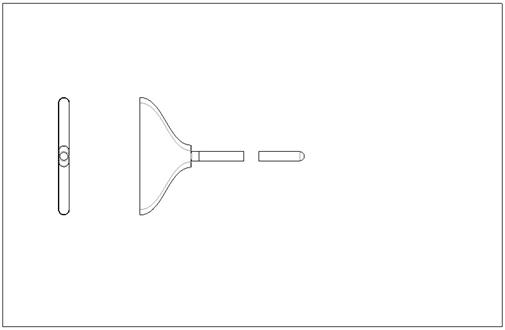
As you can see, we have vertical lines where the handle is broken. Our view is now made up of two parts, which can be moved independently in the horizontal direction, as shown in the following figure.
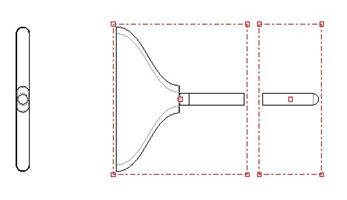
We will double-click on the larger of the two view segments to get back into the properties window. Return to the Visible Area category, and then scroll over to see the other options for the shape of the break. This time, select Sketch. When you do this, you are asked to sketch a spline that represents the shape of the break. We will sketch the following spline in the location shown in the next figure.
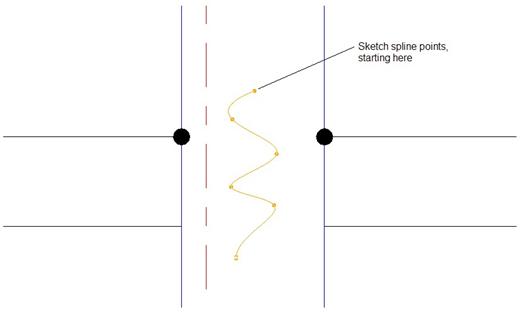
NOTE: You should try to stay within the two black dots. Once you are done picking the last spline point, click on the middle mouse button to complete the spline. Two identical blue splines show up on the view, as shown in the following figure.
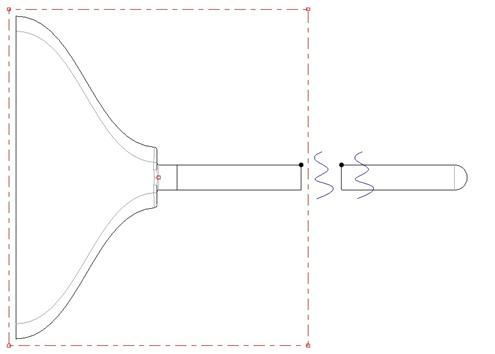
Click on OK to complete this view, and we will see the following.
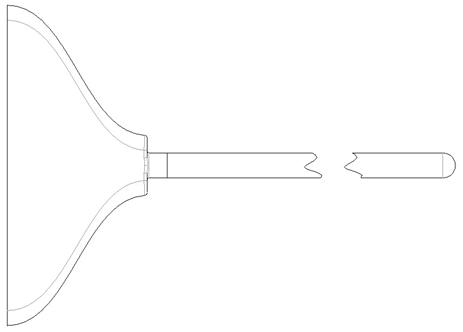
The following figures show the rest of the view shapes available. NOTE: For the two “Geometry” options, you have to pick two points to define the geometry. You should pick near one of the black dots for the first point, and then approximately the same location on the bottom line, under the dot you previously selected.
S-Curve on View Outline
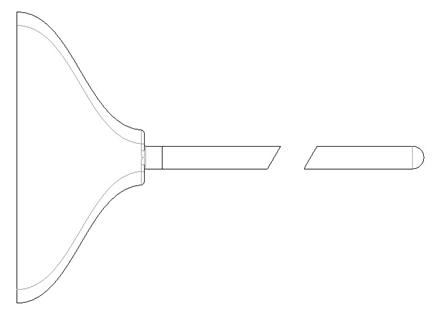
NOTE: Because our handle is so small in height, the “S” shape doesn’t really manifest itself well. The other “S-Curve” option is better, as shown in the next section.
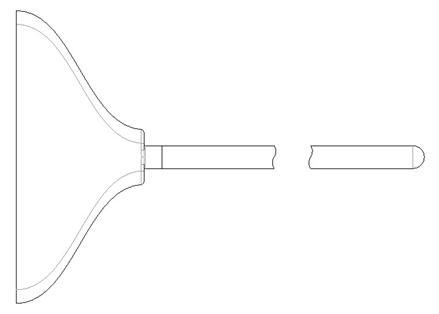
S-Curve on Geometry
Heartbeat on View Outline
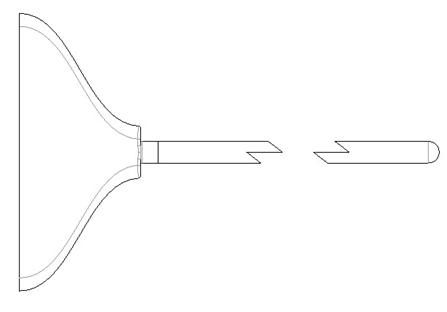
Heartbeat on Geometry

By contrast, this “Geometry” option doesn’t work as well as its previous counterpart. The “Heartbeat” is too small to be effective in this case.
BENEFIT OF BROKEN VIEW
The benefit of making this a broken view is that we can now detail out the model, and the portion of the handle that is missing from the view is not critical to the definition of that model. The following view shows how we can show the entire length of the model, but still get it on the drawing sheet.
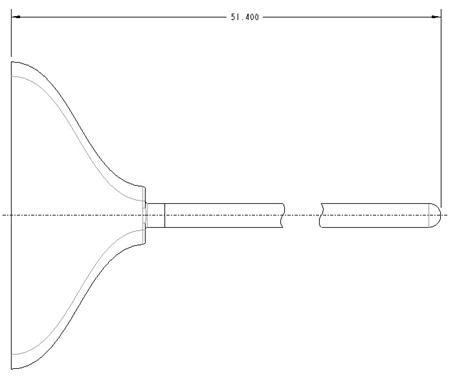
NOTE: The dimension on the figure above is a created dimension. The model is actually an assembly consisting of a base and handle. Neither of these independent models has the entire length as a dimension. We could have done this assembly with top-down design, and introduced the overall length as a variable in our skeleton model that could be controlled, and then shown on the drawing.
Save and close the drawing.
PARTIAL VIEWS
A partial view should only be used to show pertinent features not described by true projection in other views on the drawing. They are used when you want to zero in on the model to detail out a feature or set of features but to simplify the drawing by removing all non-necessary geometry from the view that is already detailed out in other views.
To demonstrate this, we will create two partial views for a bracket. Open up the drawing entitled Aux_Partial.drw, which contains a RIGHT view of the bracket, as shown in the next figure.
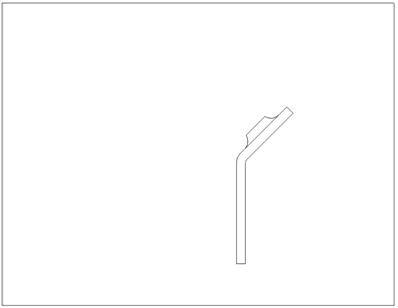
We could easily project a FRONT view, as shown in the next figure.
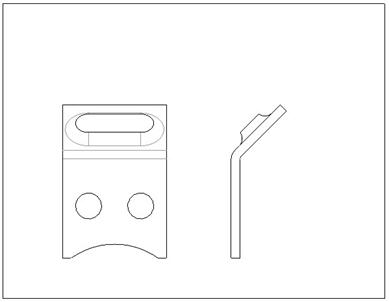
The problem occurs when we add an auxiliary view. In order to get all three views on the drawing (without changing the sheet size or scale), we would have to arrange them as follows.
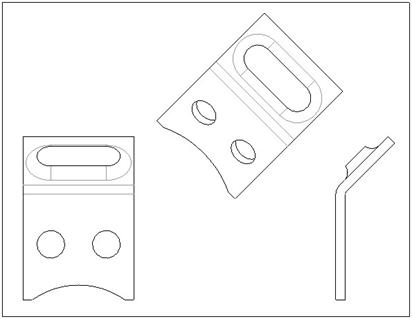
But, that brings up a good question… Should we opt to change sheet size or scale as opposed to adding partial views? I don’t think it really matters either way. The thing to keep in mind is that a partial view allows you to remove geometry that is not directly detailed in that view, and is detailed in another view.
Therefore, looking at the last figure, the auxiliary view contains geometry for the lower two holes that we are never going to detail in this view. Similarly, the FRONT view contains geometry for the raised protrusion that we are never going to detail in this view, so why not create partial views for the FRONT and AUXILIARY views? That is what we are going to do.
If you have not added the two additional views, go ahead and do this using techniques already described in this guide.
Partial FRONT View
We will start by creating our partial view on the FRONT view. Double-click on the FRONT view to open the view properties window. Under the Visible Area category, use the pull-down to select Partial View, as shown in the next figure.
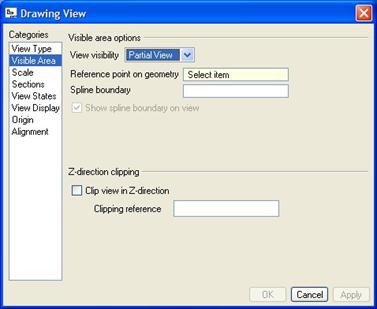
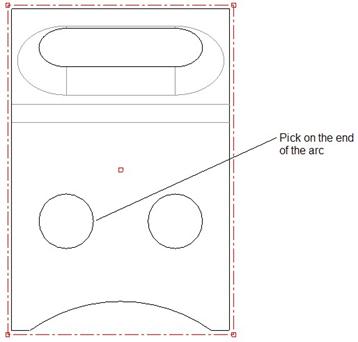
Just like when we created the detail views earlier, we have to sketch a spline around the geometry we want to show in the view. We have to start by picking on a vertex of one of the existing geometric entities in our view as the center of the spline. We will pick on the end of one of the hole arcs, as shown in the next figure.
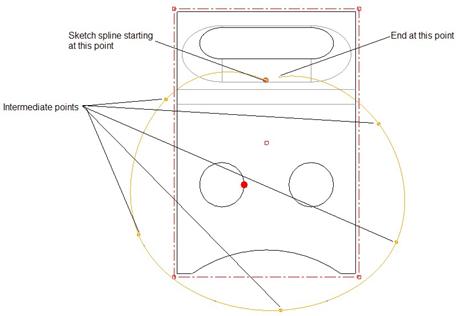
A blue dot appears where we picked, and we will start sketching our spline (remember not to close it completely, as shown in the next figure).
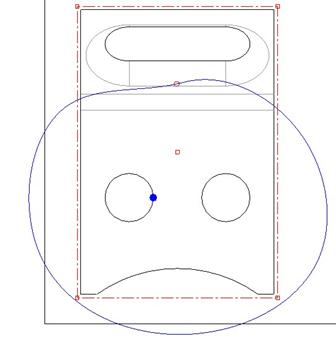
When you have finished sketching the spline, click on the middle mouse button to have the spline closed, and then you will see a blue outline for the spline, as shown in the next figure.
Click on OK to complete this view, and our FRONT view will now look like the next figure.
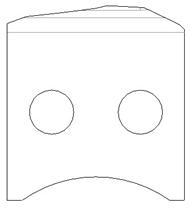
At this point, our drawing looks like the following.

Partial Auxiliary View
Now, we will repeat this same process to turn our auxiliary view into a partial auxiliary view. Double-click on the auxiliary view to get to the properties window, and then click on the Visible Area category.
Change the type to Partial View. Sketch the following spline (using the blue dot as an indication of where we picked for the center of the spline.)
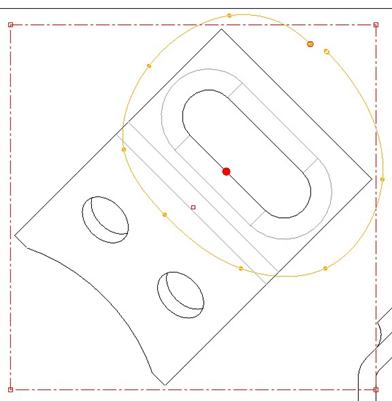
Click on OK to complete this view. Our drawing should now look like the following.
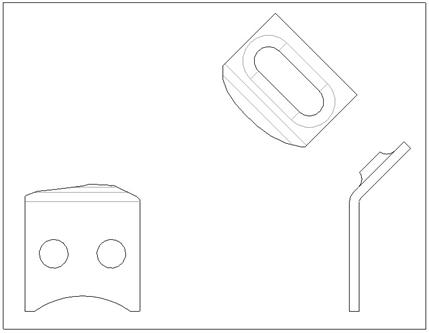
We can now move the views back in towards each other and complete detailing it, as shown in the next figure.
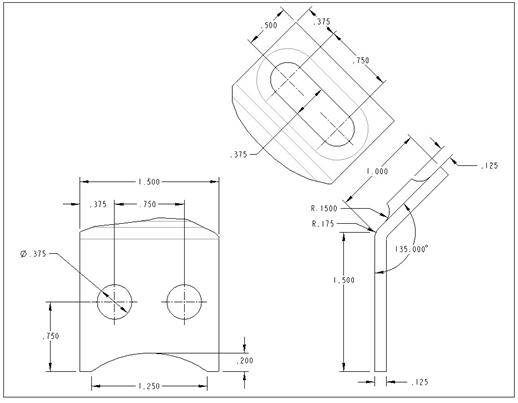
Save and close the drawing.
LESSON SUMMARY
Broken and Partial views are used to save “Real-estate” on the drawing. By eliminating unnecessary portions of the geometry, while still being able to convey the necessary information, we can make our drawings easier to read and follow.
EXERCISES
None